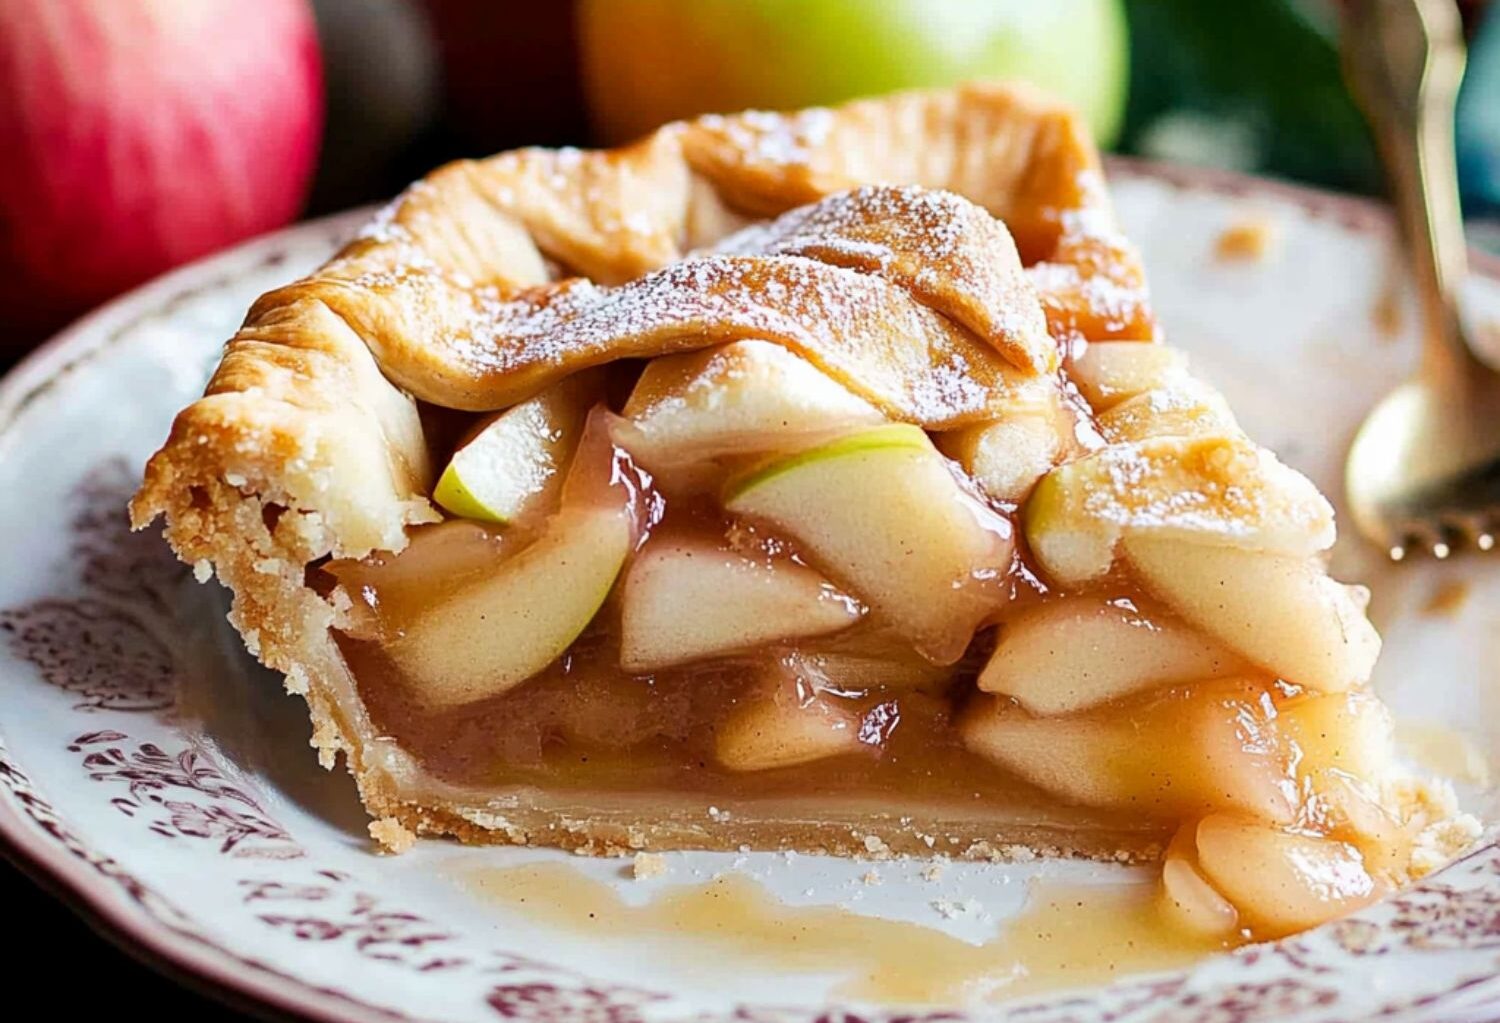
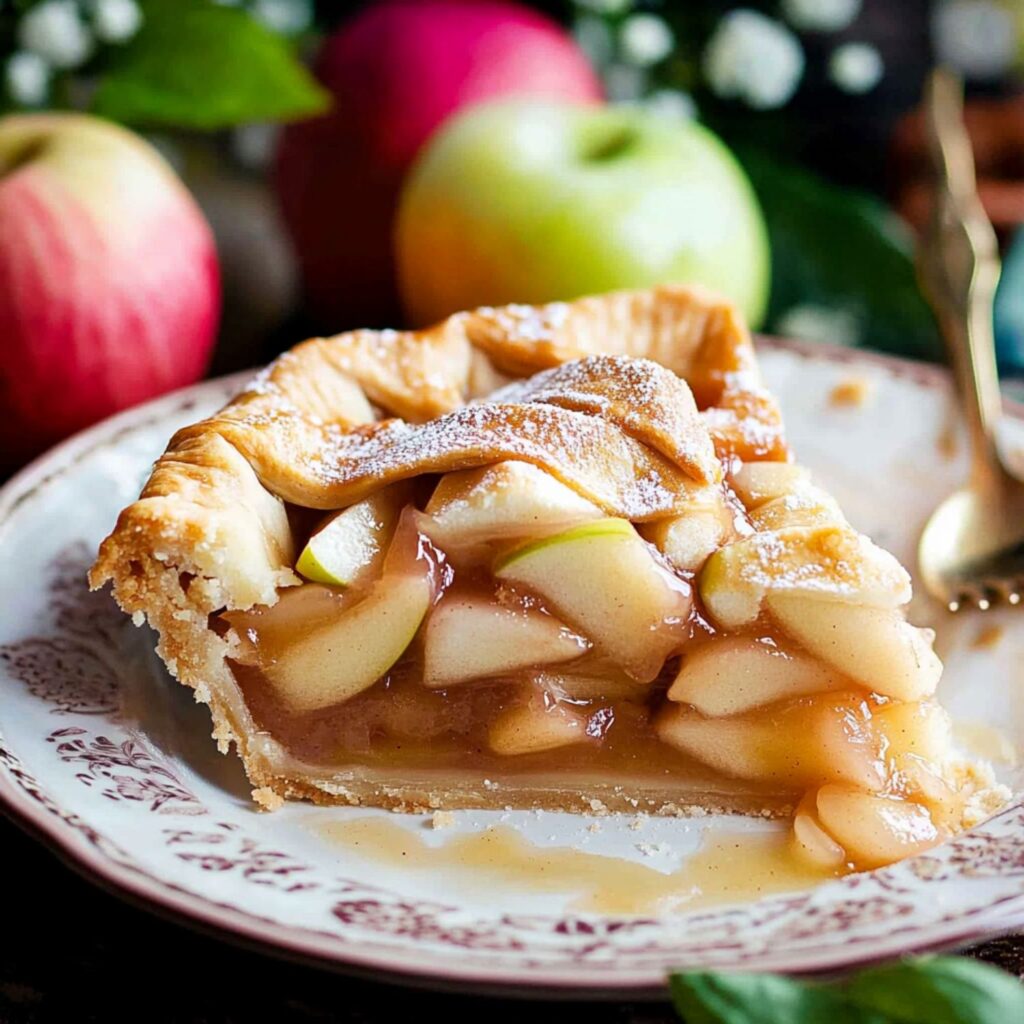
Few desserts evoke memories as vividly as apple pie—a timeless classic brimming with warmth and tradition. Whether it’s the centerpiece of your holiday table or a spontaneous weekend treat, this pie has the magical ability to make any gathering special. With its golden, flaky crust and the sweet aroma of cinnamon-spiced apples, it’s not just a dessert; it’s a celebration of comfort and nostalgia.
This recipe is designed to take you on a step-by-step journey to recreate the cherished flavors of a homemade apple pie. Even if you’re a beginner in the kitchen, the straightforward instructions make this an easy and approachable bake. You’ll master the art of selecting the perfect apples, crafting a balanced filling, and achieving a crust that’s equal parts tender and crisp.
So, roll up your sleeves and prepare to fill your kitchen with the mouthwatering scent of baked apples and warm spices. Whether you enjoy it warm with a dollop of vanilla ice cream or savor it plain, this apple pie promises to become a beloved tradition in your family.
Why You’ll Love This Recipe
- Quick and Simple: A straightforward recipe that’s perfect for bakers of all levels.
- Timeless Flavors: The blend of cinnamon-spiced apples and buttery crust is a match made in heaven.
- Customizable: Add your favorite spices or toppings for a personal touch.
- Perfect for Any Occasion: Whether it’s a festive holiday or a cozy weekend, this pie is always a hit.
Ingredients Overview
- Pre-made Pie Crusts: Convenient and reliable, but homemade works beautifully too.
- Fresh Apples: Opt for tart varieties like Granny Smith or Honeycrisp for the best results.
- Cinnamon and Sugar: Essential for creating a warmly spiced filling.
- Butter: Adds richness and ensures a golden-brown crust.
How to Make the Recipe
How to Make the Recipe
Step 1: Preheat your oven to 450°F (230°C) and prepare your ingredients for easy access. Gather your apples, sugar, cinnamon, butter, and pie crusts. Line a 9-inch pie dish with one crust, pressing it evenly into place. Set the second crust aside for the pie’s top layer.
Step 2: In a small bowl, combine ¾ cup of white sugar with 1 teaspoon of ground cinnamon. Adjust the sugar amount if your apples are particularly tart or sweet. Peel, core, and thinly slice the apples into even pieces. This ensures uniform cooking and a balanced filling.
Step 3: Begin layering the sliced apples into the prepared pie dish. Sprinkle each layer generously with the cinnamon-sugar mixture for even flavor. Repeat this process until all the apples are used and the dish is full. Gently press the apples to compact them slightly.
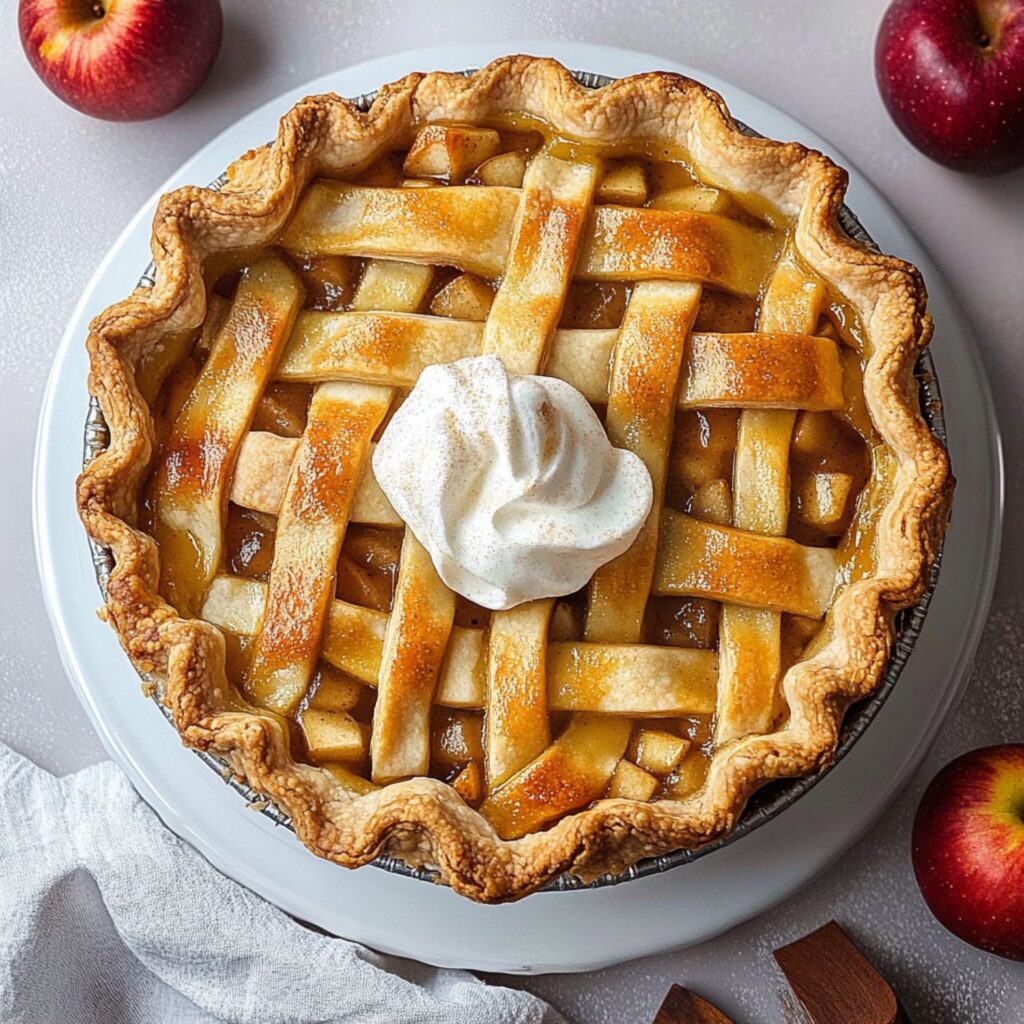
Step 4: Dot the top of the apple layers with small pieces of butter. This step enhances richness and helps create a luscious filling as the pie bakes. Cover the apples with the second pie crust, trimming any excess dough. Crimp the edges securely to seal the pie.
Step 5: Use a knife to cut small slits in the top crust to allow steam to escape while baking. Place the pie on the oven’s lowest rack and bake at 450°F (230°C) for 10 minutes. Reduce the oven temperature to 350°F (175°C) and continue baking for 30-35 minutes.
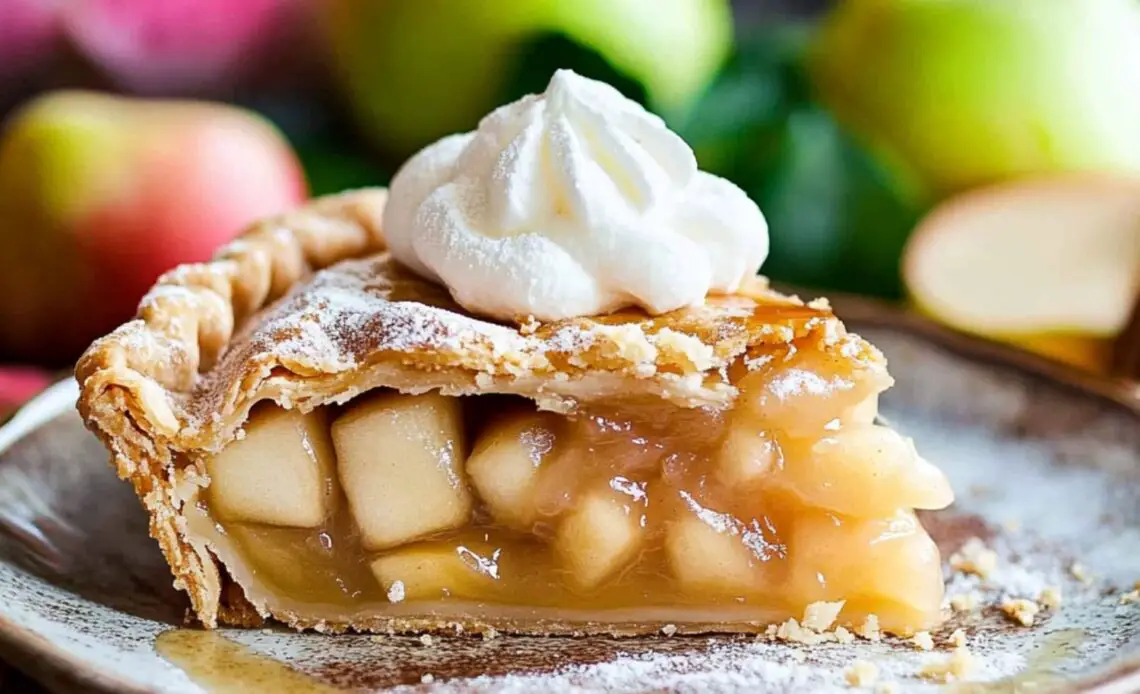
Step 6: Remove the pie from the oven and let it cool on a wire rack for at least 30 minutes. Cooling ensures the filling sets properly, making slicing easier and cleaner. Serve warm or at room temperature, plain or with your favorite topping like vanilla ice cream.
Tips for the Best Recipe
- Choose the Right Apples: Use firm, tart apples like Granny Smith for structure and balance.
- Butter is Key: Small dots of butter enhance richness and the pie’s overall flavor.
- Let It Cool: Cooling prevents a runny filling and ensures neat slices.
- Adjust Sugar: Modify the sugar amount to match your apples’ tartness.
- Egg Wash Finish: Brush the top crust with a beaten egg for a golden, glossy appearance.
Variations to Try
- Nutmeg Kick: Add a pinch of nutmeg for a deeper spice profile.
- Brown Sugar Swap: Substitute white sugar with brown sugar for a caramel-like flavor.
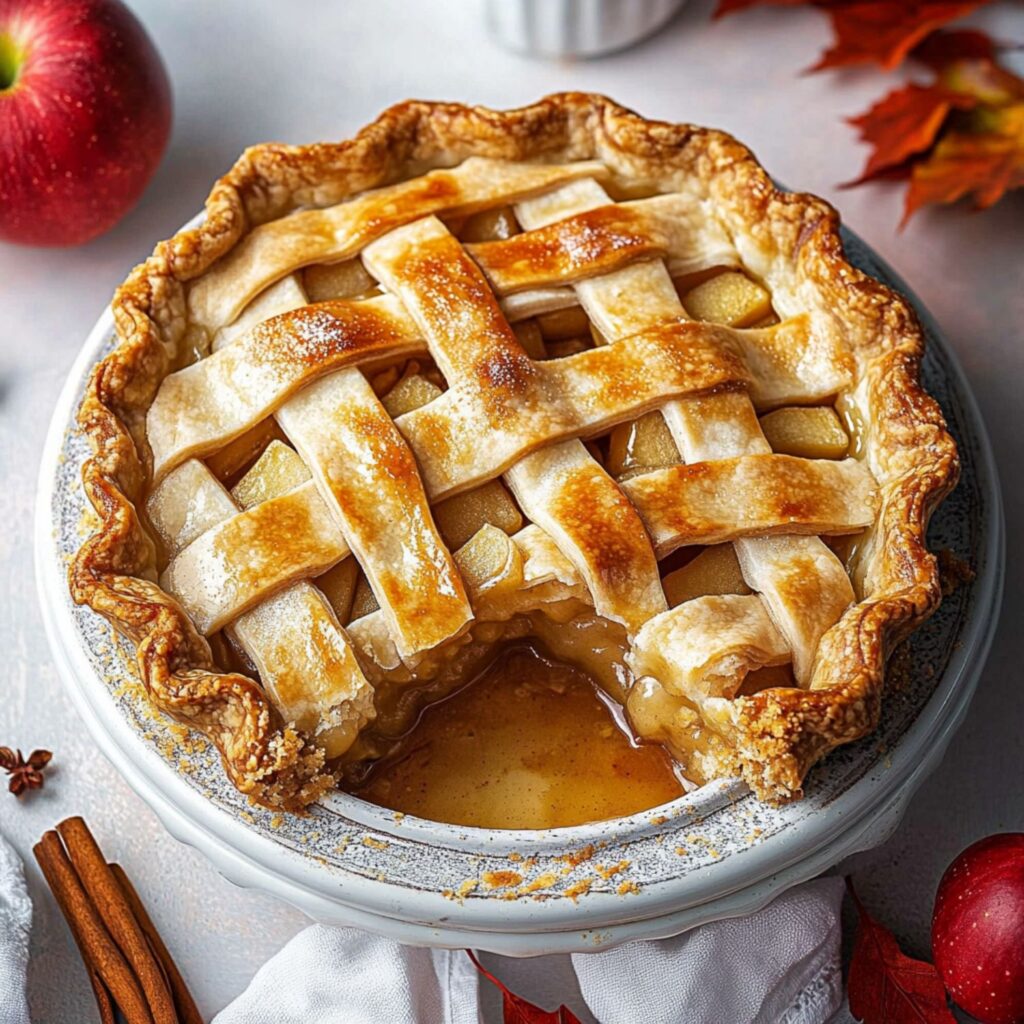
- Lattice Crust: Weave a decorative lattice top for added elegance.
- Crumble Topping: Replace the top crust with a streusel for a crunchy twist.
- Citrus Boost: A splash of lemon juice brightens the filling and prevents apple browning.
Frequently Asked Questions (FAQs)
Q1: Can I use store-bought pie crusts?
A1: Yes, store-bought crusts make this recipe quick and easy, but homemade crusts add extra flavor.
Q2: What apples work best?
A2: Granny Smith or Honeycrisp are ideal due to their tartness and ability to hold their shape.
Q3: Can I freeze the pie?
A3: Absolutely! Assemble the pie, wrap it tightly, and freeze it unbaked for up to 3 months.
Q4: How can I tell if it’s done?
A4: The crust should be golden brown, and the filling should bubble through the slits.
Q5: Can I add more spices?
A5: Definitely! Cloves, allspice, or cardamom make excellent additions.
How to Store and Reheat
- Storage: Once cooled, cover the pie tightly with plastic wrap or store it in an airtight container. Keep in the refrigerator for up to 4 days.
- Reheating: Warm individual slices in the microwave for 20-30 seconds or reheat the entire pie in a 350°F (175°C) oven for 10-15 minutes.
Conclusion
This easy apple pie recipe is the perfect balance of simplicity and timeless flavor, combining a golden, flaky crust with a warm cinnamon-spiced apple filling. Whether you’re a seasoned baker or just starting, this recipe ensures success with every bite. It’s a dessert that feels like home, making it an ideal treat for any occasion.
The versatility of this recipe means you can personalize it to suit your tastes—add nutmeg, use brown sugar, or try a lattice crust for a decorative touch. No matter how you customize it, the result is a pie that’s as delightful to make as it is to eat. Serve it warm with ice cream, and watch it disappear in minutes!
We hope this recipe becomes a beloved addition to your collection, just as it has been for ours. If you try it, let us know how it turned out! Don’t forget to share your creations and follow Wendy Recipes on Pinterest for more delicious recipes and baking inspiration. Happy baking!