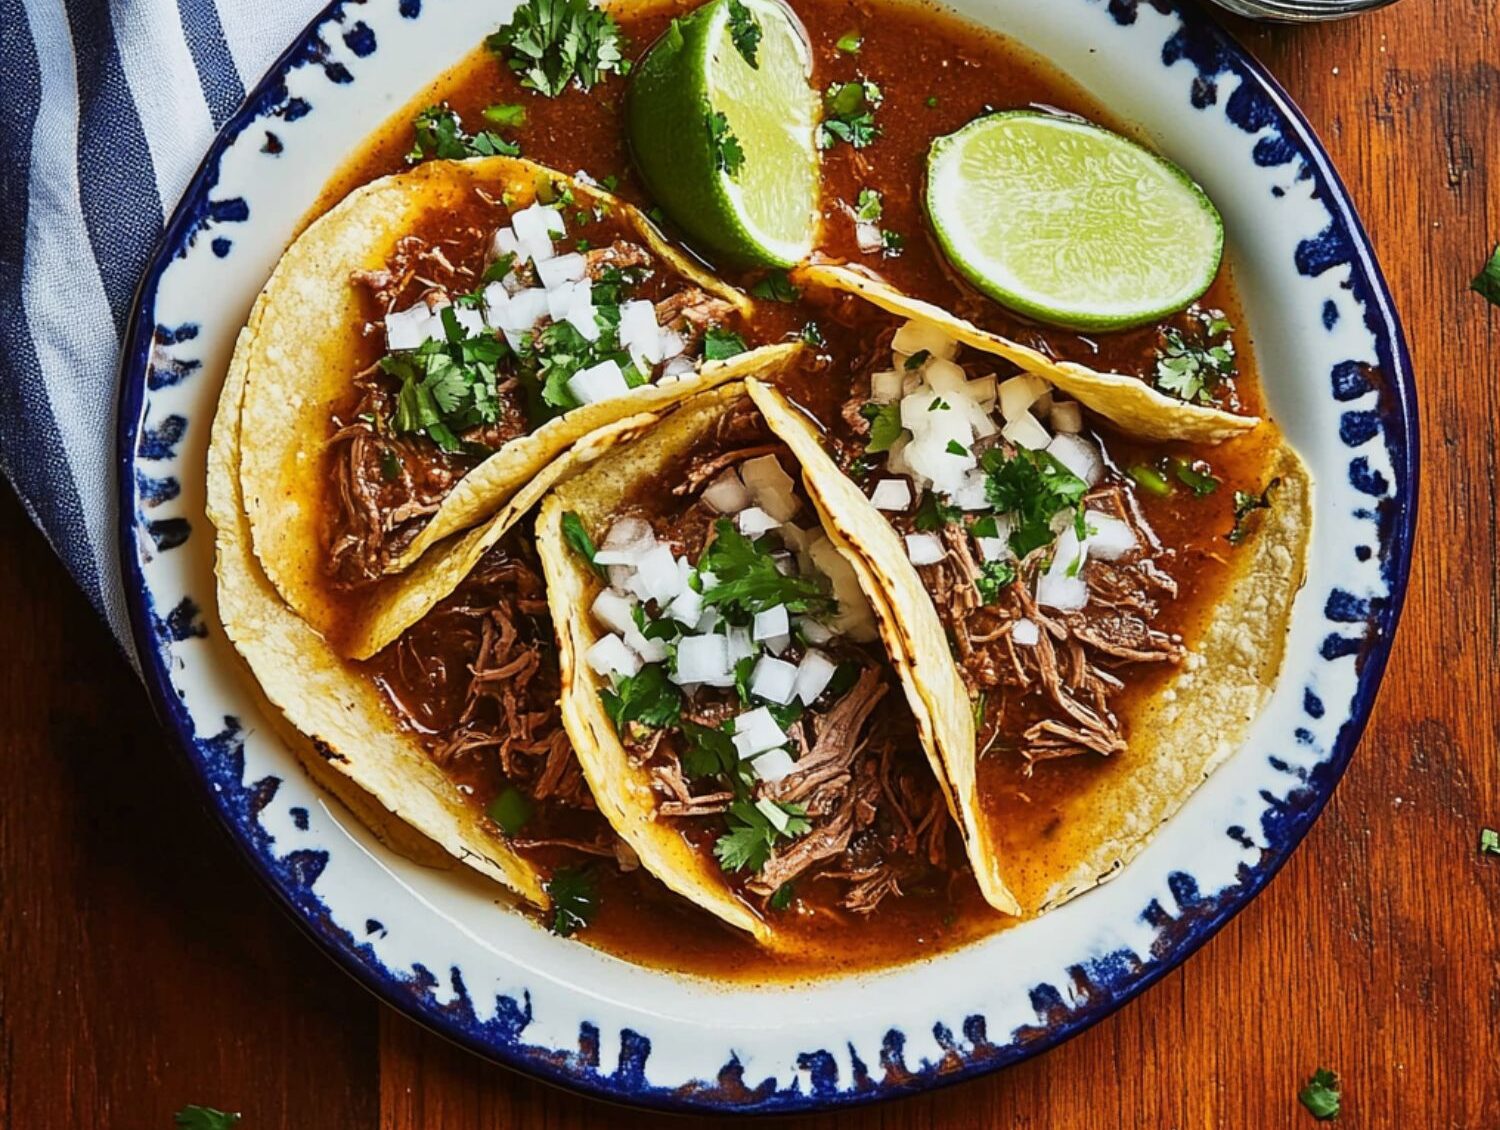
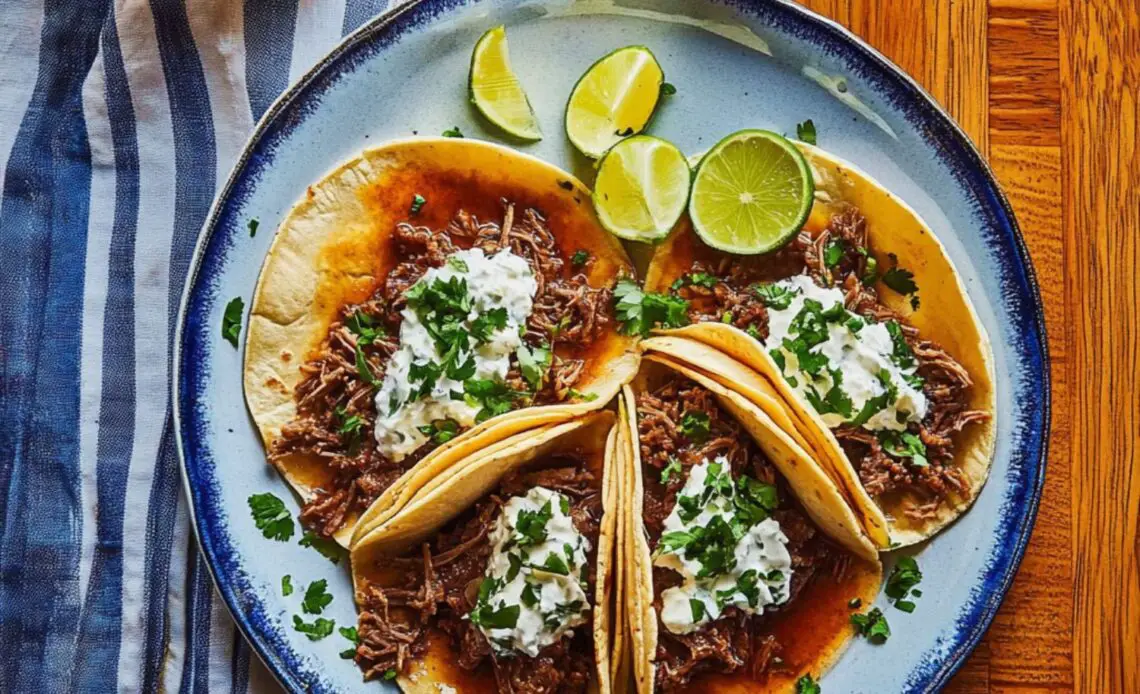
There’s something truly magical about the combination of tender beef, rich consommé, and crispy tacos. When you add melty cheese, you elevate it to a whole new level of flavor and comfort. On a chilly day, nothing quite hits the spot like homemade beef birria tacos, and when you make quesatacos (quesabirria), you’re in for a real treat. The tender, juicy beef meets a crispy tortilla and gooey cheese, creating the perfect taco experience.
If you’ve ever had the chance to try birria tacos from a local Mexican food truck or restaurant, you already know what I’m talking about. But what if you could recreate this deliciousness at home, with an Instant Pot to speed things up? In this step-by-step guide, I’ll walk you through the process of making beef birria, followed by how to turn it into cheesy quesatacos that will leave you craving more.
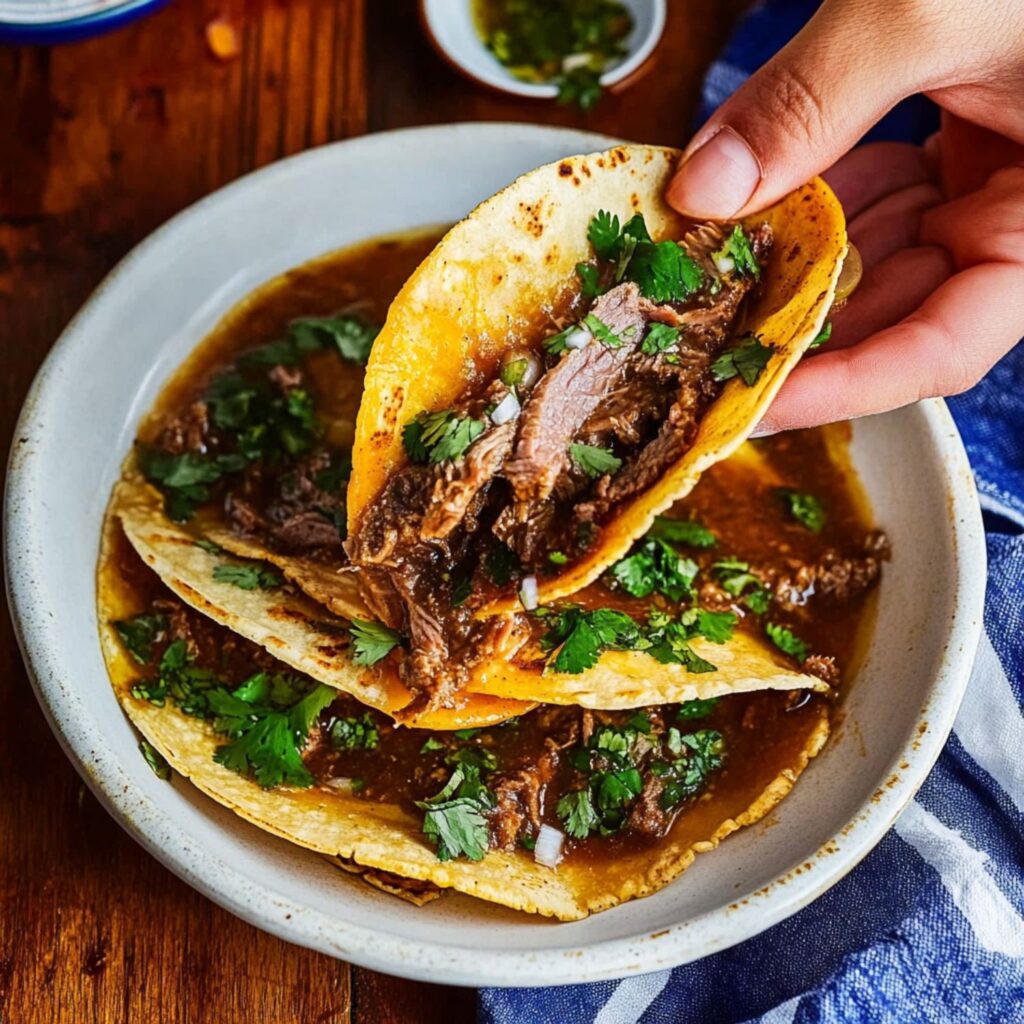
Beef birria is a dish rooted in the traditions of Jalisco, Mexico, and while it’s typically made with goat meat, the beef version has become a popular favorite in recent years. It’s a savory, spiced stew that’s perfect on its own, but it truly shines when served in tacos with melted cheese and a side of warm consommé for dipping. So let’s dive into making this incredible dish from scratch!
Why You’ll Love This Recipe
This recipe offers all the best things about birria: tender beef, mouthwatering seasoning, and the convenience of an Instant Pot. Not only does it cut down on cook time, but it also infuses the beef with deep, rich flavors, creating a dish that’s as delicious as it is easy to make. Plus, turning the birria into quesatacos adds a fun and cheesy twist that everyone will love!
Ingredients Overview
When making beef birria, the key to a flavorful result lies in the quality of the ingredients. Fresh tomatoes, soft dried chile pods, and aromatic spices come together to create a sauce that’s both savory and slightly tangy. I recommend using fresh, high-quality beef chuck roast for the best texture and flavor. As for the chiles, guajillo and ancho are traditional choices, but feel free to experiment with different varieties for a unique twist on the classic.
For the quesatacos, don’t skimp on the cheese! Chihuahua, Oaxaca, or Monterey Jack cheese are all excellent choices that melt beautifully, adding that perfect gooey texture when folded into the tortillas.
How to Make Instant Pot Beef Birria Tacos
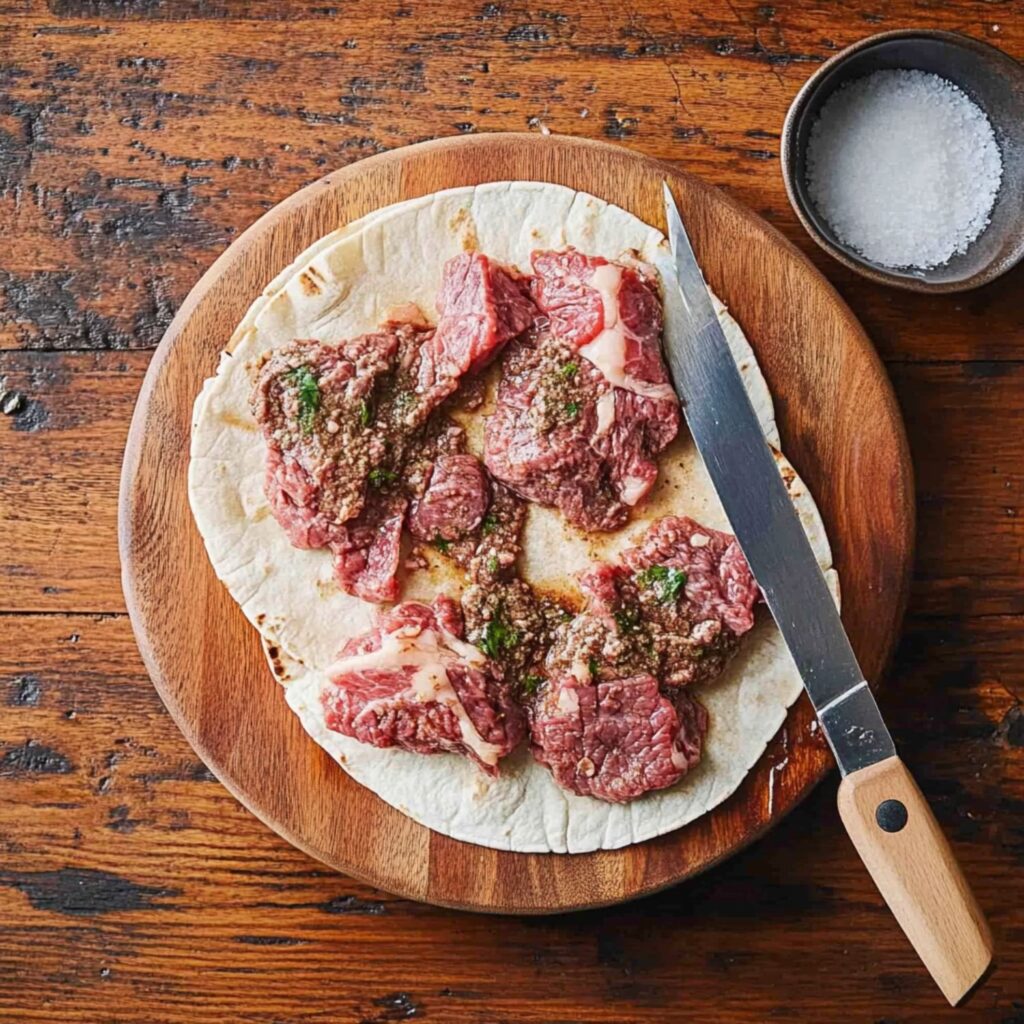
Step 1: Cut and Season the Beef
Start by cutting the beef chuck roast into 12 pieces. Season the beef with 2 teaspoons of kosher salt and 1 teaspoon of freshly ground black pepper, ensuring the pieces are well-coated.
Step 2: Prepare the Chiles, Onion, and Ginger
Using kitchen shears, cut the stems off the guajillo and ancho chiles and remove the seeds. Peel and halve the white onion, and peel the ginger before cutting it into halves. Place the chiles, half the onion, and ginger into your Instant Pot.
Step 3: Cook the Aromatics
Add the peeled garlic cloves, plum tomatoes, and 5 cups of water into the Instant Pot. Use the highest sauté setting to bring everything to a boil. Let it boil for about 10 minutes to cook the aromatics.
Step 4: Blend the Sauce
Once boiled, turn off the sauté function and carefully transfer the cooked aromatics to a blender. Add 2 cups of the cooking liquid, 1 teaspoon of kosher salt, apple cider vinegar, black peppercorns, Mexican oregano, cumin seeds, ground cinnamon, and ground cloves. Blend until smooth.
Step 5: Strain the Sauce
Set a fine-mesh strainer over a large bowl and pour the blended sauce through it. Use the back of a ladle to push the sauce through until only a thick paste remains in the strainer. Discard the solids.
Step 6: Sear the Beef
Empty the Instant Pot insert, wash, and dry it. Add ¼ cup of oil and set it to sauté mode for 5 minutes. Add half of the beef and sear for 8 to 10 minutes until browned on all sides. Remove the beef and repeat the process with the remaining pieces.
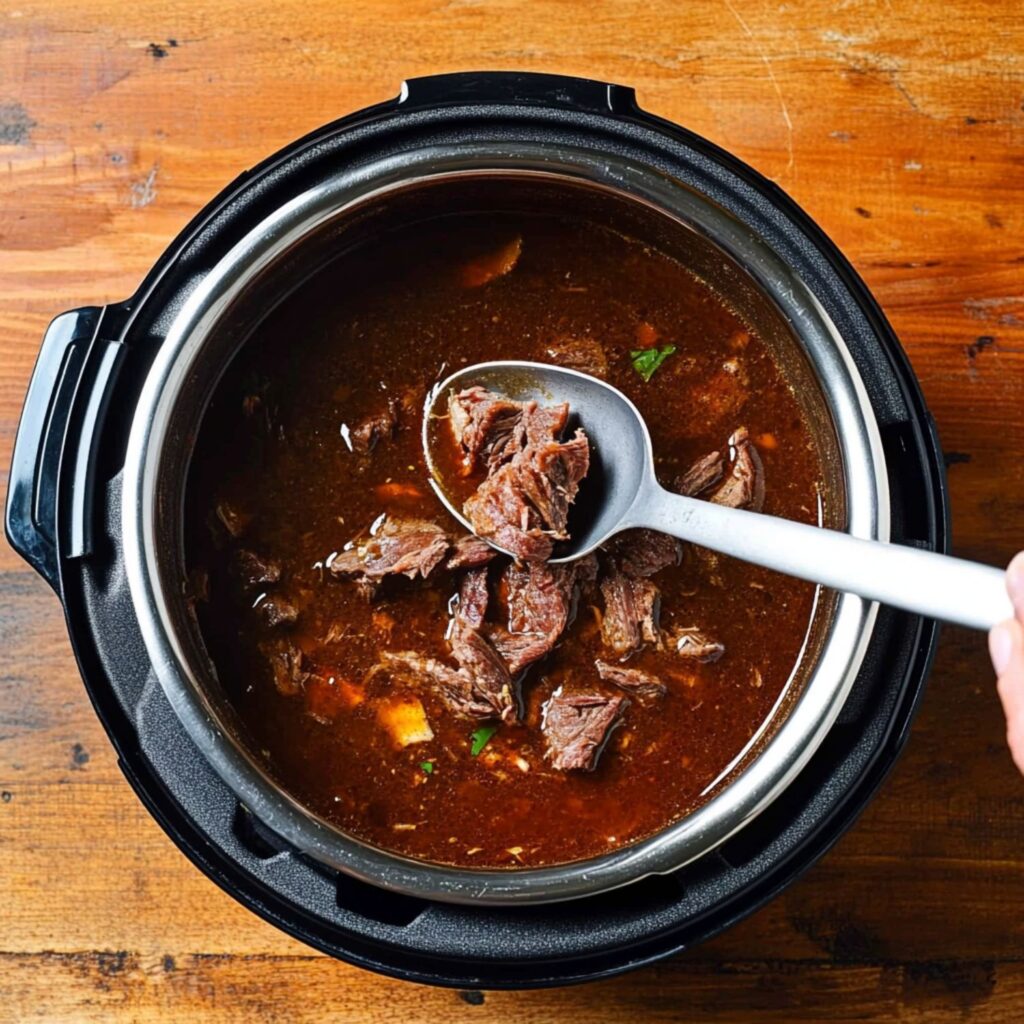
Step 7: Pressure Cook the Beef
Once all beef is seared, return it to the Instant Pot. Pour in the strained sauce, beef broth, and add the fresh thyme sprigs. Seal the pot and set it to cook on high pressure for 40 minutes. It will take 15-20 minutes to come up to pressure.
Step 8: Prepare the Toppings
While the beef is cooking, dice the reserved onion and chop the cilantro. Cut the limes into wedges. If you’re making quesatacos, shred the cheese and refrigerate all toppings separately.
Step 9: Release the Pressure
Once the cooking time is complete, let the pressure release naturally for 15 minutes, then quick-release any remaining pressure.
Step 10: Shred the Beef
Preheat your oven to 250°F. Using a slotted spoon, transfer the beef to a large bowl. Shred the beef using two forks, discarding any fatty pieces. Season the beef and consommé with additional kosher salt if needed.
Step 11: Dip the Tortillas
Heat a griddle or large nonstick frying pan over medium heat. Dip each tortilla into the consommé and place it on the pan. Allow it to warm and absorb the flavors.
Step 12: Fill the Tacos
For quesatacos, sprinkle ¼ cup of cheese onto each tortilla, then top half of each tortilla with ¼ cup of shredded beef. Drizzle with more consommé.
Step 13: Cook Until Crispy
Fold each tortilla in half and cook for 5-6 minutes, flipping halfway through, until the tortillas are crispy and the cheese is melted.
Step 14: Keep Warm
Transfer the tacos to a baking sheet and keep warm in the oven. Repeat with the remaining tortillas and filling.
Tips for the Best Recipe
- Don’t rush the pressure cooking: Let the Instant Pot work its magic to ensure the beef is tender and flavorful.
- Use fresh tortillas: For the crispiest quesatacos, use fresh tortillas that haven’t been sitting around for too long.
- Adjust the heat: Add more chiles or a spicy salsa to increase the heat level to your preference.
Variations to Try
- Vegetarian Option: Substitute beef with a plant-based protein like jackfruit or portobello mushrooms for a delicious vegetarian birria.
- Different Cheeses: Experiment with different melty cheeses, like provolone or cheddar, for a unique quesataco experience.
Frequently Asked Questions (FAQs)
- Can I use a different cut of beef?
Yes, other cuts like beef short ribs or brisket can be used for a different flavor profile, though chuck roast is recommended for its tenderness. - Can I freeze leftover birria?
Yes, you can freeze the birria and consommé for up to 3 months. Just make sure to store it in airtight containers. - How do I make the consommé spicier?
To add more heat, include more dried chiles like pasilla or chipotle. You can also add hot sauce or fresh chopped jalapeños. - What can I serve with these tacos?
Serve with a side of Mexican rice, beans, or a fresh salad for a complete meal. - Can I make this recipe without a pressure cooker?
Yes, you can use a Dutch oven and braise the beef for 3-4 hours until it’s tender.
How to Store and Reheat
Store leftover birria and consommé in an airtight container in the refrigerator for up to 3 days. To reheat, simply warm the beef in the consommé on the stovetop. For quesatacos, reheat the beef and crisp up the tortillas again in a pan.
Conclusion
This Instant Pot Beef Birria Tacos recipe delivers deep, savory flavors that will leave your taste buds dancing. The combination of tender beef, melty cheese, and crispy tortillas is sure to impress anyone at the table. Don’t forget to garnish with fresh cilantro, onions, lime wedges, and a spicy salsa for that extra kick!
If you loved this recipe, be sure to follow me on Pinterest at Wendy Recipes for more delicious meals and taco creations!