Indulge in the blissful luxury of homemade chocolate truffles, a treat so decadent yet incredibly simple to make. These delightful morsels combine creamy richness with the bold allure of premium chocolate, making them perfect for gifting or savoring on your own. Whether you’re crafting a romantic gesture or indulging in a sweet craving, chocolate truffles always deliver pure joy.
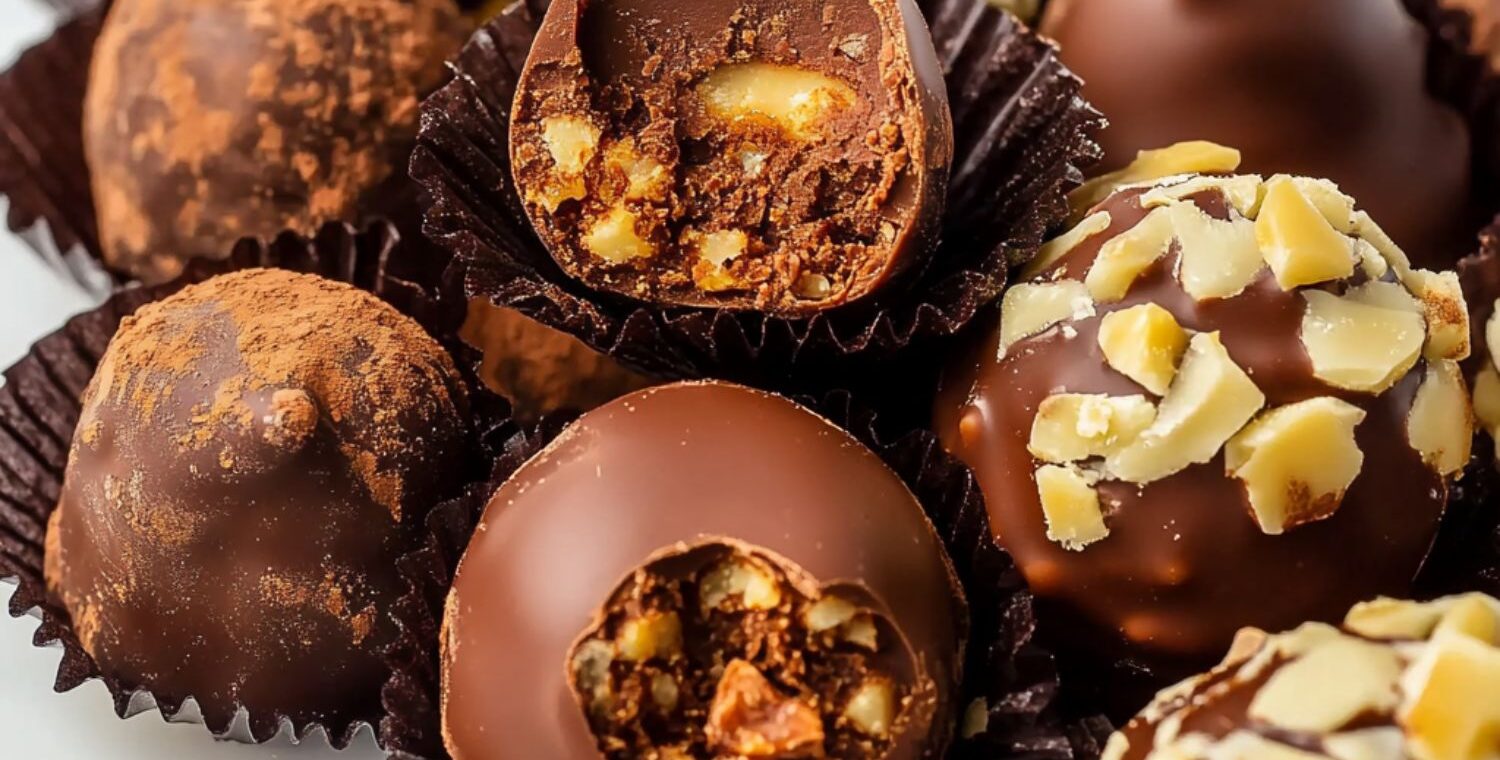
Imagine biting into a velvety smooth ganache center coated in a dusting of cocoa powder or a sprinkle of crushed nuts. The experience is nothing short of heavenly. Plus, you don’t need fancy equipment or advanced culinary skills to create these masterpieces—just a little patience and a lot of love.
With just three basic ingredients—chocolate, cream, and time—you can transform your kitchen into a chocolatier’s dream. Ready to impress your loved ones or treat yourself? Let’s dive into this foolproof recipe for homemade chocolate truffles.
Why You’ll Love This Recipe
- Effortless Elegance: Simple steps and minimal ingredients yield gourmet-quality results.
- Customizable: Infuse your truffles with unique flavors or coat them in various toppings.
- Perfect for Any Occasion: From holidays to romantic evenings, these truffles are always a hit.
Ingredients Overview
Crafting the best truffles starts with selecting the finest ingredients. Opt for high-quality chocolate bars with at least 62% cacao for a rich, creamy ganache. Avoid chocolate chips, as their stabilizers can interfere with the smooth texture. Use organic heavy cream for a luxurious consistency, and don’t hesitate to explore flavoring options like vanilla, almond extract, or a splash of liqueur.
How to Make the Recipe
Step 1: Heat the Cream
In a small, heavy saucepan, bring ½ cup of heavy cream to a gentle simmer. Stir occasionally to prevent scorching. If using liquid flavorings like liqueur, add them at this stage.
Step 2: Infuse the Flavor (Optional)
For infused flavors like mint or cinnamon, remove the cream from heat and steep the solids (e.g., chopped mint leaves or cinnamon sticks) for 1 hour. Strain and reheat the cream before proceeding.
Step 3: Make the Ganache
Place 8 ounces of finely chopped chocolate in a heatproof bowl. Pour the hot cream over the chocolate and let it sit for 2–3 minutes. Add 1 teaspoon of vanilla extract (if not using other flavorings). Stir until the mixture is smooth and glossy.
Step 4: Cool the Ganache
Let the ganache cool to room temperature, then refrigerate it for about 2 hours until firm enough to handle.
Step 5: Shape the Truffles
Line a baking sheet with parchment paper. Using a teaspoon or small scoop, portion out the ganache. Roll each piece into a ball between your palms and place it on the prepared sheet. Refrigerate overnight.
Step 6: Coat the Truffles
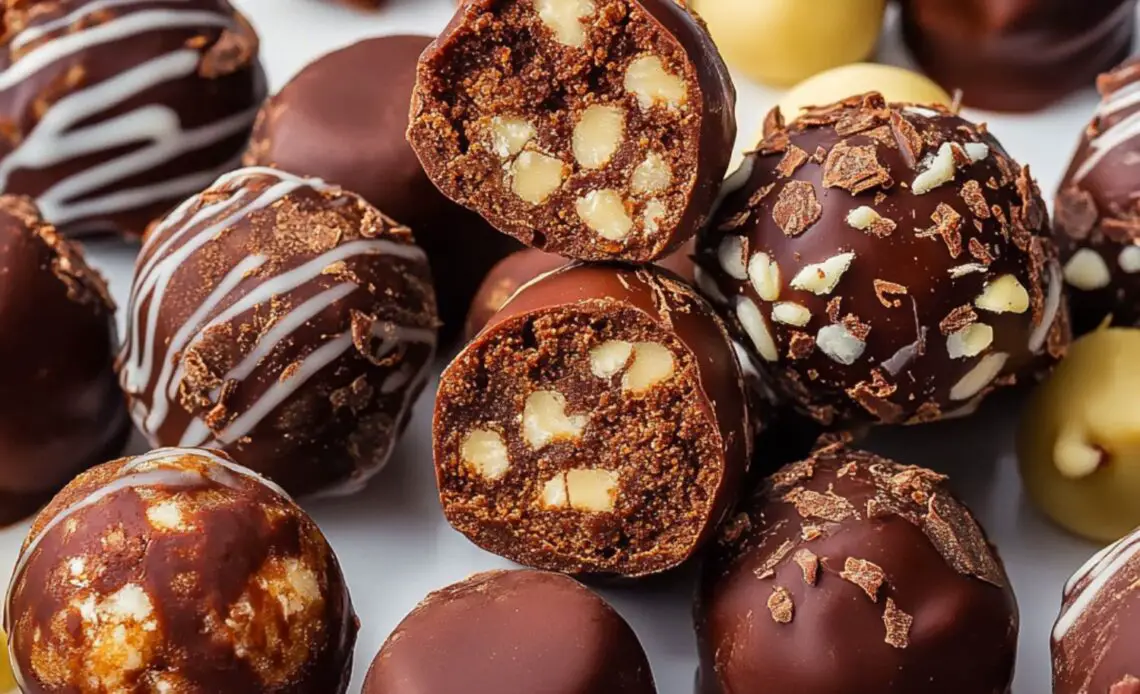
Roll the chilled ganache balls in unsweetened cocoa powder, finely chopped nuts, or your choice of coating. Serve immediately or store as instructed below.

Tips for the Best Recipe
- Chop the chocolate finely to ensure it melts evenly.
- Use food-safe gloves if your hands tend to warm the ganache.
- If the ganache is too soft to roll, refrigerate it longer or briefly freeze it.
Variations to Try
- Spiked Truffles: Add whiskey or Chambord for a boozy twist.
- Spiced Delight: Infuse the cream with cayenne or cinnamon.
- Holiday Treat: Roll in crushed candy canes for festive flair.
Frequently Asked Questions (FAQs)
1. Can I use milk chocolate instead of dark chocolate?
Yes, but the truffles will be sweeter. Adjust the cream-to-chocolate ratio for a firmer ganache.
2. How do I fix broken ganache?
Gently reheat the mixture in a double boiler and stir until it emulsifies.
3. Can I freeze truffles?
Absolutely! Store them in an airtight container for up to 6 months. Thaw before serving.
4. What’s the best way to gift truffles?
Refrigerate the truffles first, then pack them in a decorative box or bag just before gifting.
5. Why avoid chocolate chips?
Chocolate chips contain stabilizers that can prevent the ganache from achieving a smooth, creamy texture.
How to Store and Reheat
Refrigerate truffles in an airtight container for up to 2 weeks. For longer storage, freeze them for up to 6 months. Always bring truffles to room temperature before serving to enjoy their best flavor and texture.
Conclusion
Homemade chocolate truffles are proof that simple ingredients can create extraordinary desserts. Whether you’re a chocolate connoisseur or a novice cook, this recipe guarantees impressive results.
Don’t forget to share your creations with friends and family—they’ll think you’ve turned into a master chocolatier! Follow more irresistible recipes on Pinterest @Wendy Recipes and let your kitchen adventures begin.